Ray Gun Project
- Eileen Lingad
- May 7, 2021
- 3 min read

Updated: Aug 20, 2021
This is a screenshot of the ray gun before putting in the animations.

Here is a video of the ray gun I completed in Blender with animations.
Here are the instructions for the ray gun by itself:
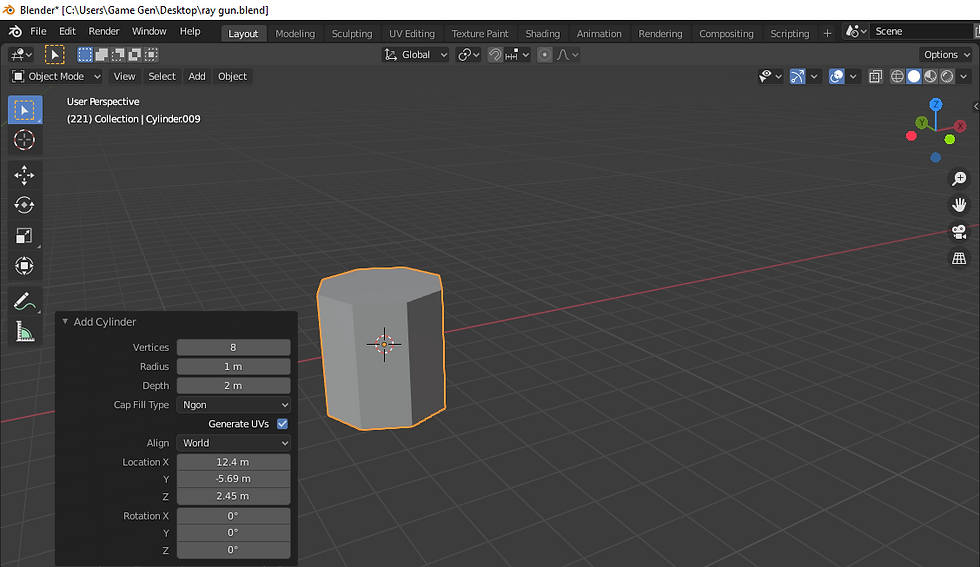
Step 1. Start with the new cylinder and set it to 8 vertices.
Step 2. Rotate it to 90 degrees by using R and Y keys.

Step 3. Scale it in the X axis.

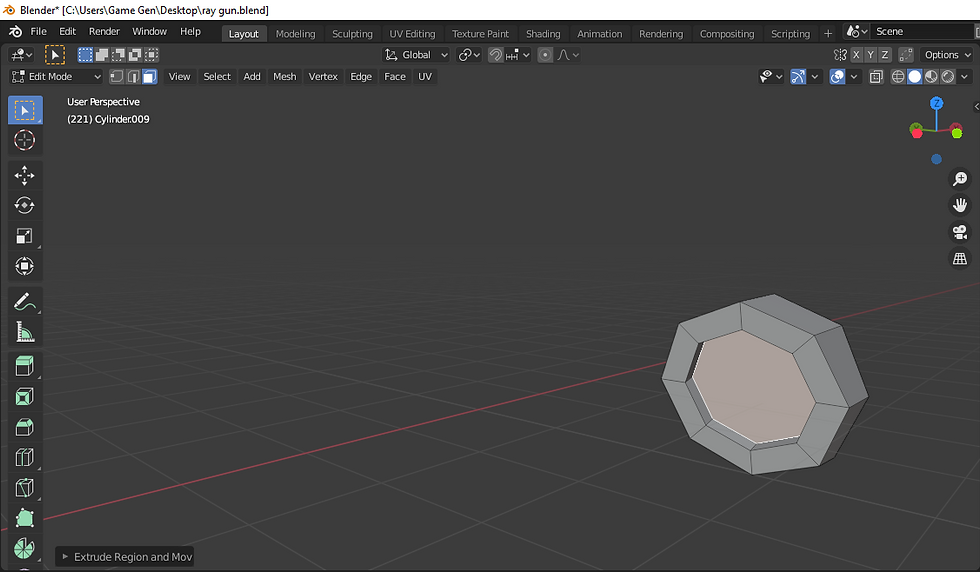
Step 4, Go to Edit Mode and select the front face of the cylinder.

Step 5. Go to front view and rotate it forward.

Step 6. Press I on the keyboard and inset it to make a barrel hole.

Step 7. Press E to extrude, move it inwards and press Enter.
Step 8. With the face selected, go to wireframe mode, use G to grab and press the Z key to move it down.

Step 9. Go back to Solid mode with the Z key and also inset it again by pressing the I on the keyboard.

Step 10. Press E to extrude, move it in position with X and press Enter.

Step 11. Select the back face and use the inset tool to bring it in by pressing the I key.

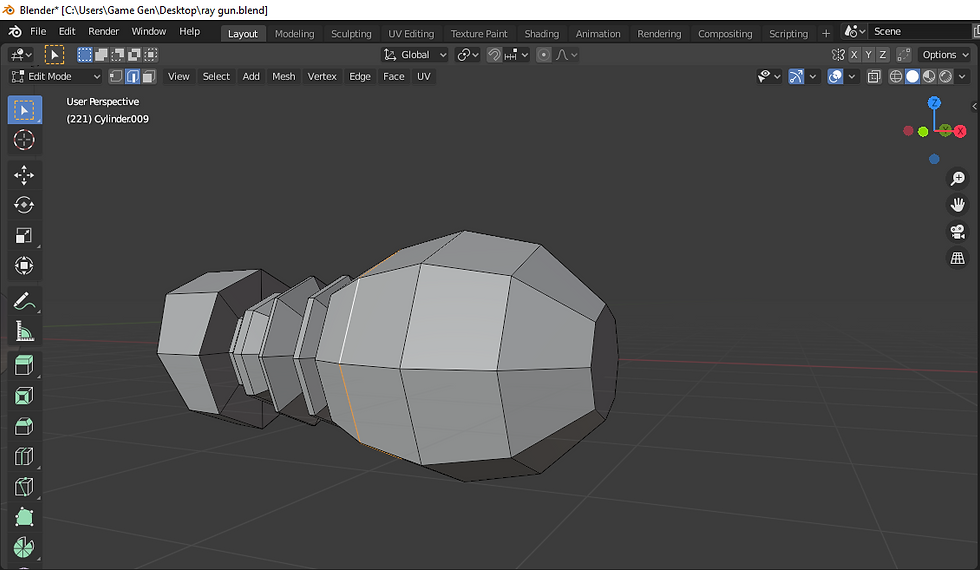
Step 12. Go to front view, press E to extrude, then extrude again and scale it up by using the S key.

Step 13. Press E to extrude, then E to extrude and scale it down by using the S key.

Step 14. Press E to extrude, scale it up, E to extrude, then another E to extrude again and scale it down.

Step 15. Do the same thing as the first extrusions.

Step 16. Press E to extrude and left click. Then, E to extrude, E to extrude again and scale down.

Step 17. Use Ctrl R to make a loop cut in the middle. Go to Face Mode, select the back face and scale it in. Select the edge loop on the right and use G to grab and press X to move to the left. Also, select another edge loop. Then use G and X to move to the right.
Step 18. In Edit mode, add a Subdivision Modifier.

Step 19. Go back to Object mode, up the viewport by 1, right click and Shade Smooth.

Step 20. Go to Face mode, select one of the edges, press S to scale and then press Shift X so it won't go to the X axis.

Step 21. Go to Edge Mode and select the edges. If the On-Cage button is not active, turn it on and select the edge. Then, use the S key to scale it down. Do the same thing with the other edge and scale it down.

Step 22. Press Ctrl-R to add a loop cut and move it forward. Next, Ctrl-R again on the inside and also move it out. Go to Face Mode, select the faces with the On Cage button and scale it up.

Step 23. Press Ctrl R from the inside and bring it out.

Step 24. Click on the edge loop and scale it out.

Step 25. Select another supporting loop and scale it in or out.

Step 26. Add Ctrl-R to the inside and move it in.

Step 27. Add a loop cut with Ctrl-R on the outside and move it out.

Step 28. Add the last loop cut and move it out.

Step 29. Go to Face Mode, select the faces and press E to extrude inwards.

Step 30. Press S to scale down.

Step 31. Also go to Edge mode, select the edge and scale it in. Use G and X to move it and scale it out.

Step 32. With the edge still selected, use G and X to move it backwards.

Step 33. Click on the edge loop and scale it up to sharpen.

Step 34. Click on another edge loop and use G to grab in the X axis.


Comments