3D Observatory Art Jam
- Eileen Lingad
- Feb 26, 2021
- 4 min read

Updated: Jan 25, 2022
This is the final screenshot of the completed 3D observatory. I made some changes on the color of the telescopes and windows to look like the reference photo at the bottom.

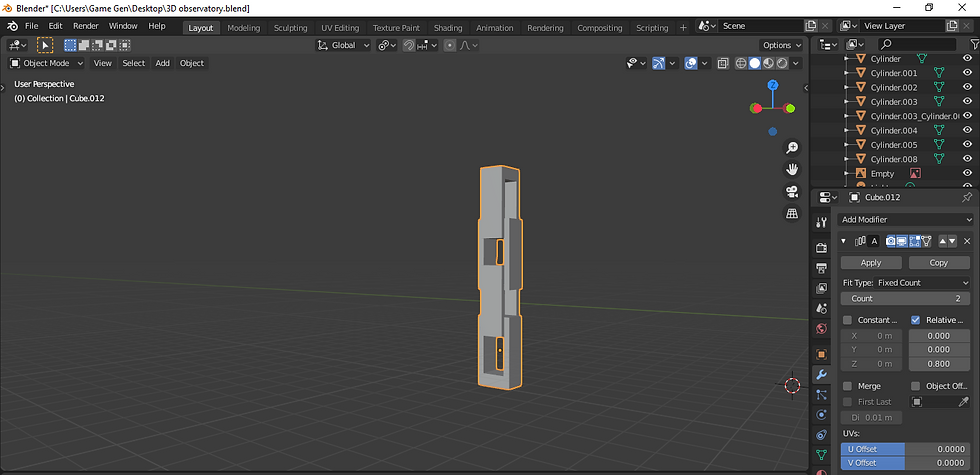
Here is a work in progress of the building in Blender. It's not done yet, but there are parts that I still need to add.

Here is an update of the observatory. I fixed the dome and the telescopes in wireframe mode along with the cylinder by using the Z camera. I also moved the bottom of the cylinder from the keyboard shortcuts: G,Y, and X.

The 3D balcony is finished in Blender. I separated the floor and railings earlier. I also used the scale z tool and beveled the railings to be rounded from top and bottom.

The 3D moon is done.

Here is the break down:
Start by selecting the faces in Face Mode and delete it.
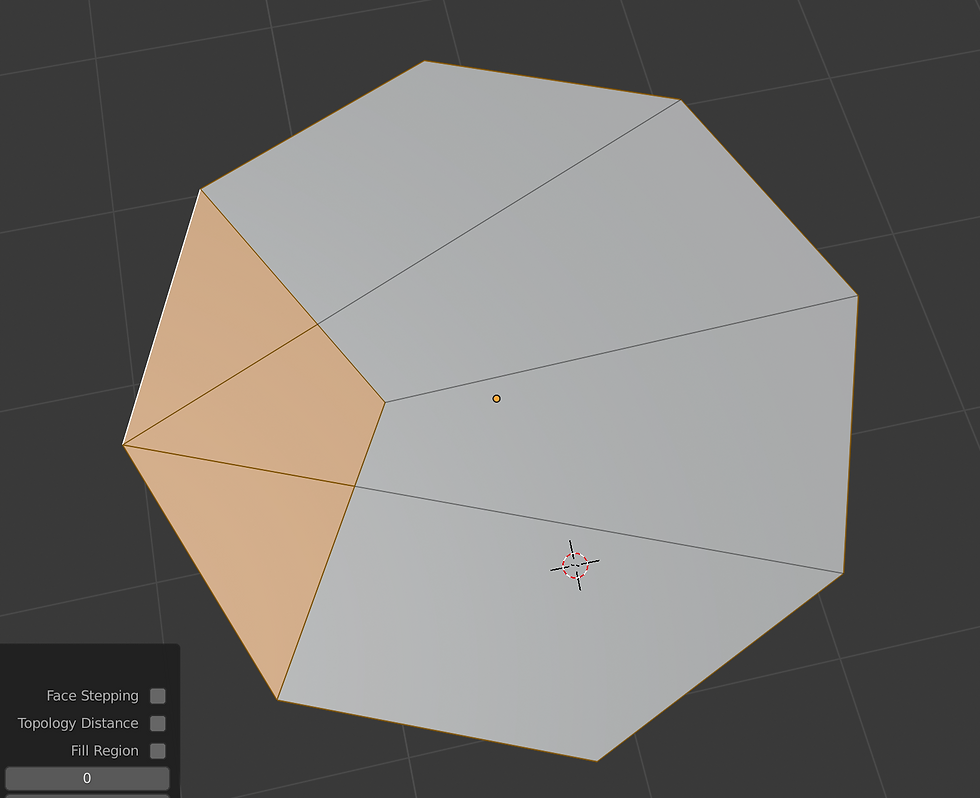
Go to the Y camera and delete the edges.

Go to Edit Mode and click on Vertex Mode

Select the vertices.

Use G and X to move the vertices in to make the moon shape.

Add the Subdivision Modifier and press apply to get the final result. Make sure to Shade smooth in Object Mode.

If there is a mistake, go back to Edit Mode.

Under the Subdivision Modifier, press the On Cage tool if it's active or not.

Select the vertices on the moon and apply it again.

Here is the 3D stairs along with the leaves. The leaves was done in Krita.

Start by dissolving the back edges.

Go to Face Mode and press the L key to select the whole stair.

Press Shift D to duplicate the stair and slide it with G and Y from the Z camera.

Bring down the stair with G and Z.
Select the back face from the second stair.

Press E to extrude.

Grab the second stair, press Shift D to duplicate the second stair and bring down with G and Z.

Select the back face of the third stair and press G and Y.

Start by opening up Krita on the desktop.

When you go to the Start section, click on Open File.

In the Download section, click on the image twice to open it.

Select the leaf and move it in place.

Click on the Transformation tool in the left side.

Click on the selected leaf where there is a rotating wheel and rotate it around.

If the leaf is rotated, press Enter to paste it in.

Click on the Duplicate tool and make a copy of the rotated leaf.

The 3D door is finished, but the railings for the stairs is a work in progress. I just need to put it together. I just noticed that the door is too small to look at along with the door frame.

Here is an update of the 3D door, but I'm having an issue with placing the railings on the stairs.

This is what the rails looks like before I start joining it together.

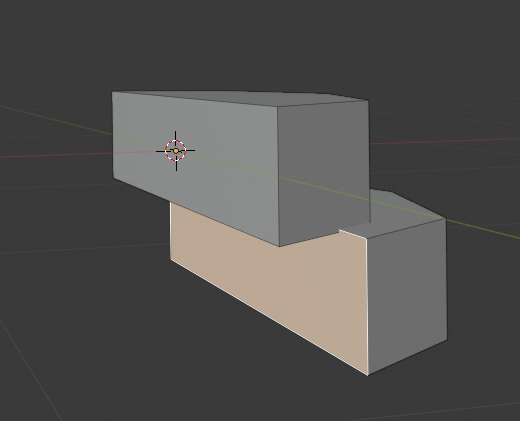
Here is an update of the chain I modeled in Blender.
This is how I break it down:
Step 1:
Start off with a new cube.

Step 2:
Use the scale tool in the X camera and press z.

Step 3:
While the cube is still selected, go to Edit Mode.

Step 3:
Go to Face Mode, select the two faces and delete it.

Step 4:
Select the top face and press Ctrl L to select the other faces . Also, add a Solidify Modifier and put the thickness to 0.5 m.

Step 5:
Go back to Object Mode and click on the Apply button in the Solidify Modifier.

Step 6:
Press Shift D to duplicate the cube and move it up in the Z axis.

Step 7:
Rotate the second cube by 90 degrees by using the R and Z on the keyboard. If one of the cubes is too thick, use the scale tool from x and y.

Step 8:
Join the first two chains before using the Array Modifier.
Step 9:
In the Array Modifier, put 0.8 in the Z relative and click on the Apply button.

Last Step:
This is what it looks like when It's done.

Here is the balcony while i's unwrapped. I started to delete the back faces on both railings in Edit mode before I make a seam. I also did the same thing with the planks.
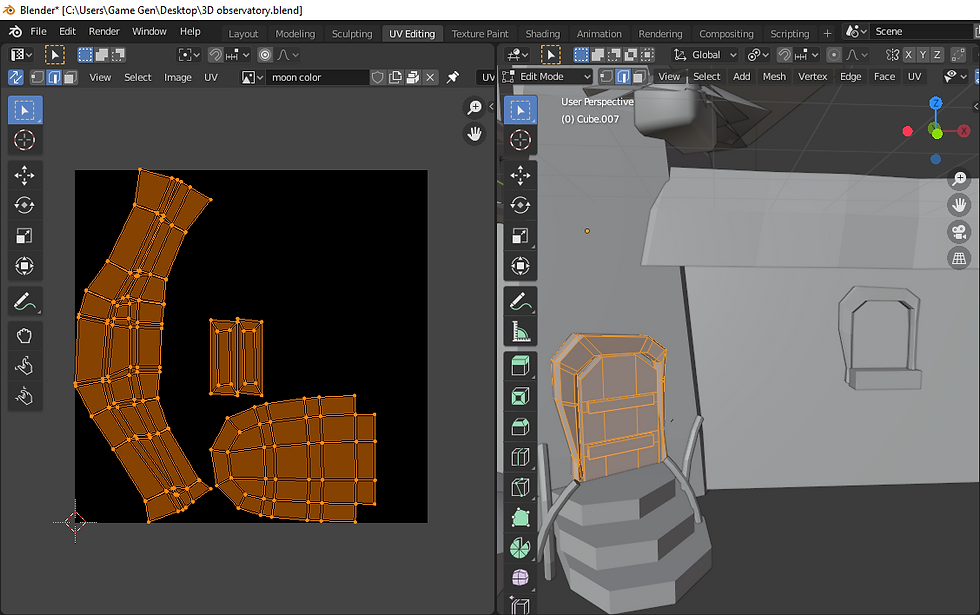
I selected the two halves of the dome in Edit mode, went to UV Editing and unwrapped it.
The door frame is unwrapped along with the door and planks.

The moon is unwrapped. This is how I break it down:
Step 1:
Go to Edit Mode and select the edges in the front and back.

Step 2:
Go to the Edge tab and click on Mark Seam.
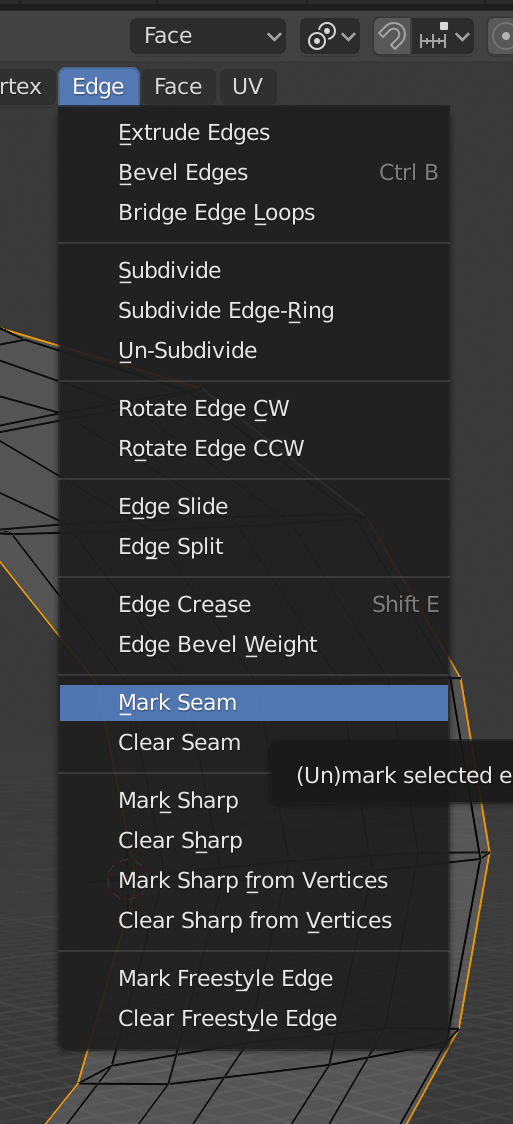
Last Step:
In the UV Tab, click on Unwrap and it will be done.

From the left side, that is the stairs I unwrapped in Edit mode. I had to delete the extra faces so it will unwrap correctly.

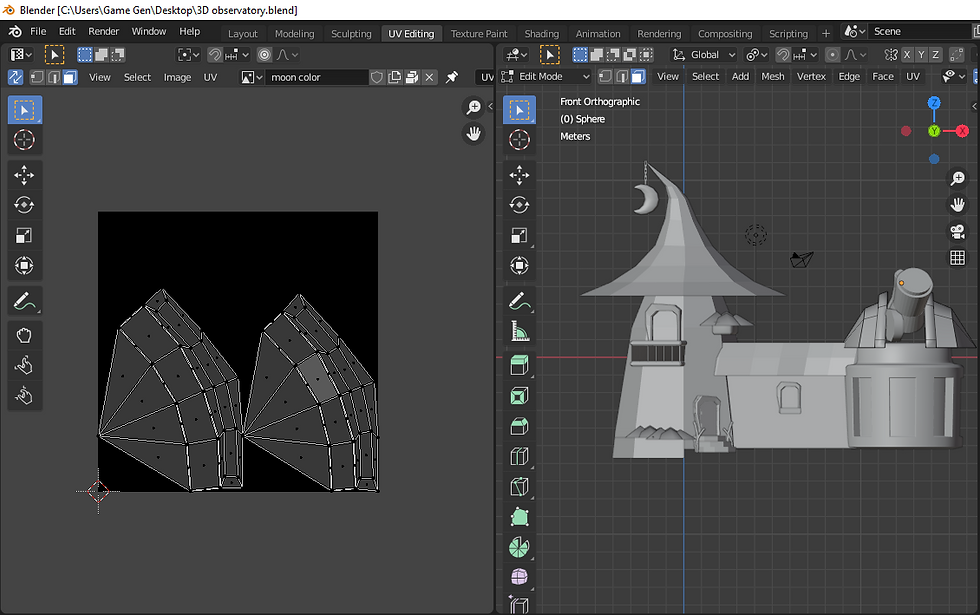
For the witch hat, I selected the faces including the bottom by pressing L in Edit mode. Then, I made a seam on one edge. I also went to the UV tab and clicked on Unwrap to see the final result.

Here is the tower that is unwrapped. I already cleared the extra seam in the Edge tab.

Here is the final update of the observatory with the rocks painted white on the walls.

Here is an update of the observatory I'm still working on. It has been already colored . But, I'm putting the rocks together in Krita right now before I add it in Blender later. I also realized that the rocks had to be painted in Blender.

This was the texture when I painted the rocks on the walls. If I try to paint it, I noticed that the rocks look dark. So, then I had to redo the texture again.

I really changed the color of the rock stencil to white in Texture Paint.

Since I have extra space on the walls, I added more rocks.


When it is finished, it will look like the reference photo.


Comments